Setup & Configure Write-Back Server
Summary
Write-Back Manager enables you to set up and configure Write-Back in a web environment and guide you through the process. Every Manager screen has a help section on the side providing the necessary information to fill each screen. This manual is a complement to that help section.
Accessing Write-Back Manager
Write-Back manager is available on https://localhost:8543/writeback-manager, to access open this URL on the browser.
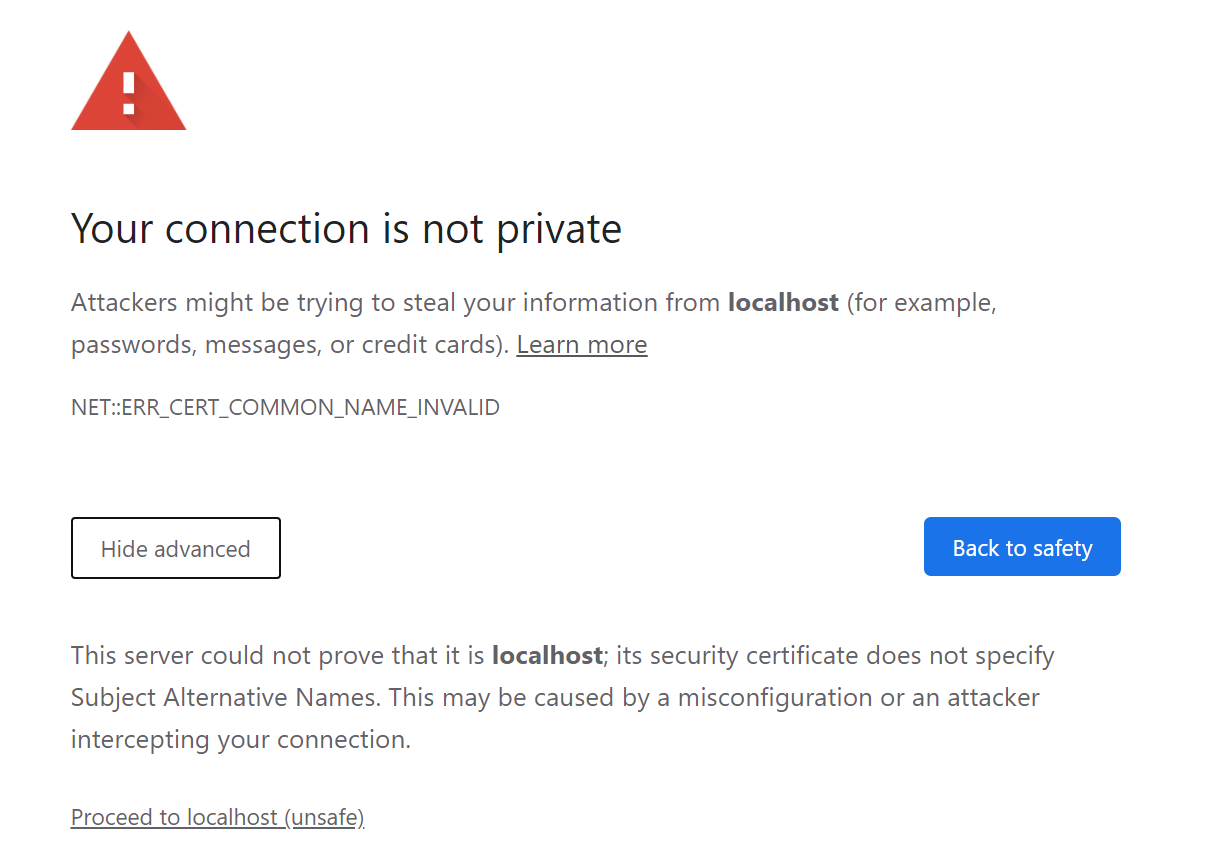
Click on Advanced and then Proceed to localhost (unsafe)
Authentication
The Write-Back Manager requires administrator access to the computer where Write-Back is installed. This means you have to use an operating system user to login.
This is most likely the user name you used to login on the pc or server.
If you are using a Windows machine that is on a domain you have to log in with MYDOMAIN\MYUSER
To quickly check the user that you need to log in within the Write-Back Manager, in Windows, you can open the command prompt and type in the command "whoami". This will output your username.
Alternatively, to find out your username click on the Windows Key and then Settings, go to Accounts → Other users. This will give you information about your current username that should be placed on the authentication form and below the password.
Configuration Types
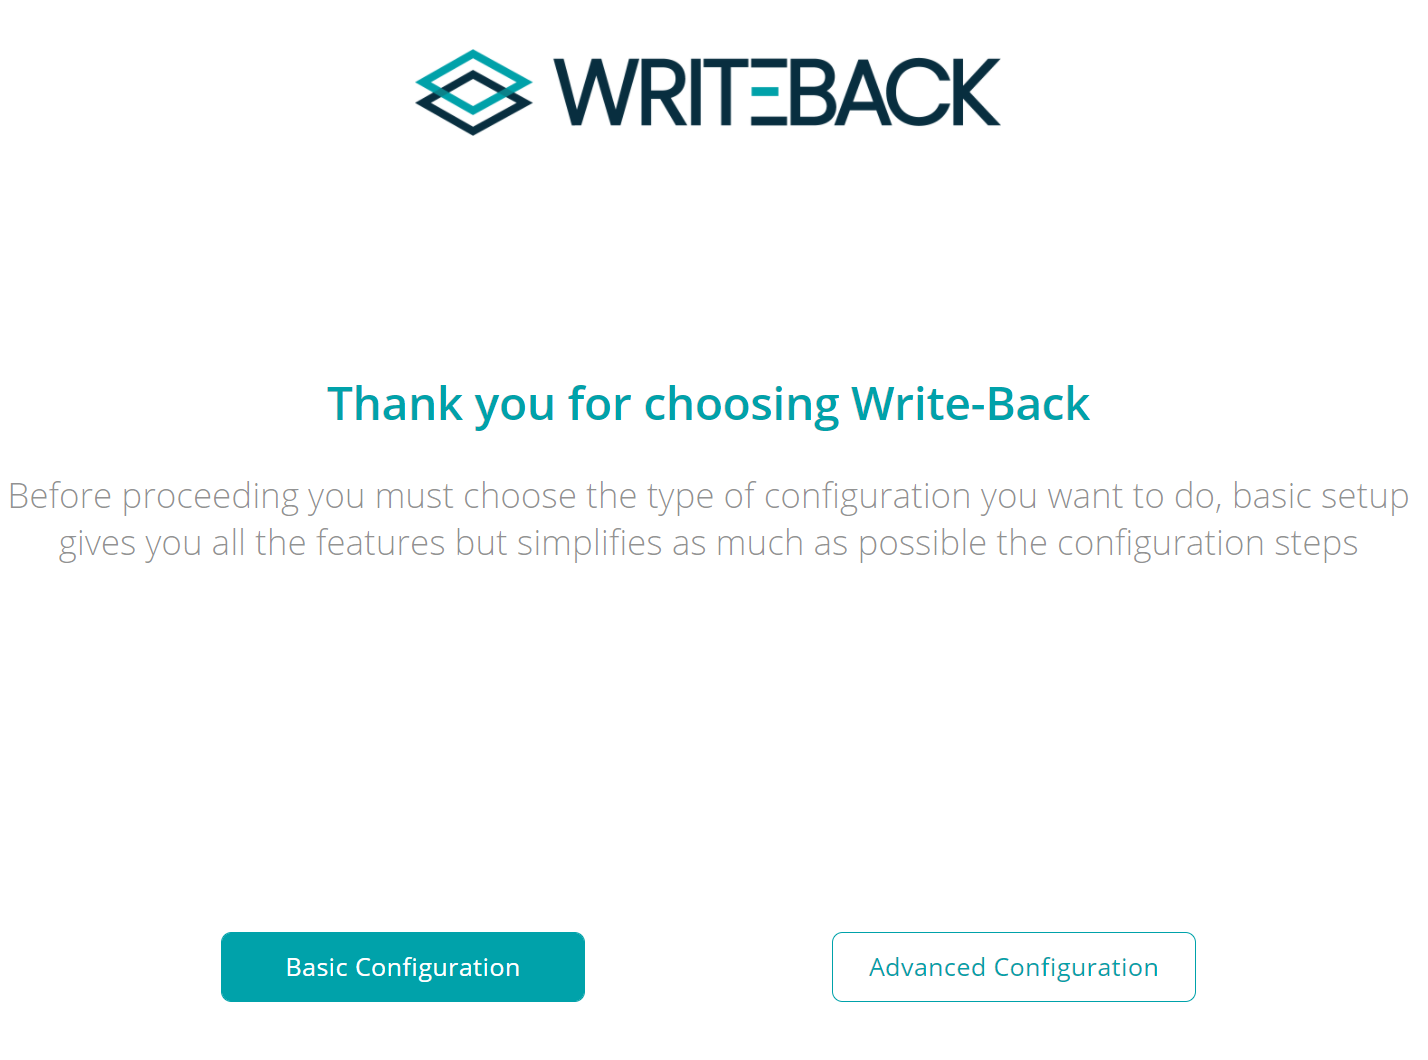
You can now choose the configuration type by clicking on the correct button:
Basic
This type of installation enables you to access all Write-Back features in just a few minutes. Use this installation type for trials or PoCs as it will allow you to start using it immediately, by setting up the configuration with default values.
Later you can always switch to advanced and gradually make Write-Back better configured for your environment so you don't have to worry about starting this way as it won't limit any future options.
Advanced
This type of installation is suited for more comprehensive deployments and allows you to take advantage of all Write-Back configuration and tailor it according to your environment and needs.
If you are doing this type of installation check the Advanced Installation Pre-Requisites page.
License Management
A license key is required to use Write-Back. This key can either be for a free trial or a yearly subscription. The subscription is done for the number of named Write-Back users, but you can use it across as many use cases as you want.
This is the page where you will place your license key, whether for trial or for production deployments. If there are any issues with the license, you will get a notification telling you what is wrong.
How to get a license
You can get a trial license here, by clicking on the ‘let me try now’ button and filling the form.
You can get a subscription license by clicking here and entering your information.
Apply Settings
Write-Back manager allows you to configure Write-Back but it is a separate application. It is only when you click on Apply Settings that the configuration is applied to Write-Back. The whole process is done automatically.
Any change made to the configuration needs to be applied afterward.
Applying the configuration to Write-Back requires stopping the service and thus causes downtime on Write-Back usage.
Using Write-Back
This section provides everything that you need to start using Write-Back on Tableau. It allows you to download the TREX files that you will need to use Write-Back in your dashboards. You also have a video explaining the usage of Write-Back and if you chose to enable samples you'll be able to download a sample workbook.
Advanced Configuration
This section is only required if you are installing Write-Back in production or if you need to tailor the setting according to your infrastructure.
Authentication
Write-Back requires every user to be authenticated for security and audit reasons, it supports several authentication options comprising manual authentication methods or single-sign-on SSO methods, that allow users to log in only once on Tableau Server and Write-Back. Choosing the correct authentication method depends on your infrastructure and what you have available.
The following authentication methods are available:
| Type | Authentication Method | Description |
|---|---|---|
| Username & Password | Tableau Server | If you are using Username & Password to log in to Tableau Server, you can use the same credentials for Write-Back. |
| Username & Password | Active Directory / LDAP | Allows you to authenticate in Write-Back by using your existing LDAP or Active Directory server. |
| Automatic login | If your users log in with Kerberos already, it is possible to set up Write-Back to use it as well enabling automatic authentication. | |
| SSO | If you are already using SAML in Tableau Server or Online, you can also configure Write-Back to use it. | |
| SSO | If you are already using OpenID in Tableau Server or Online, you can also configure Write-Back to use it. |
You can find more details about SSO configuration in general on SSO and Automatic Login for Write-Back Server.
Configure Sites
Sites
Write-Back supports sites enabling to segregate users in a similar way to what Tableau Server does. Using different sites means you can write data to different databases or schemas and also using different authentication methods for each, guaranteeing that a particular user can only access certain site(s). This is useful if you also use Tableau Server sites and if you want to have a multi-tenant solution or simply segregate data from different teams or departments.
We ALWAYS need to have the default site defined. Having only a default site is equivalent to not using this feature.
Data Storage
Write-Back stores the data submitted on datasets that persisted on your database. Write-Back works as an engine that is able to translate your settings and data submission into valid database commands hiding all the technical complexity behind it.
This configuration allows you to choose what is going to be the database repository that Write-Back is going to use to store its datasets. You can choose across a wide set of database technologies that include: PostgreSQL, SQL Server, Oracle, MySQL, SAP Hana and this means you can store Wite-Back data side by side with your existing data.
To download the correct database driver go to Prepare Database Drivers for Write-Back Server.
Database user tip
It is highly recommended to create a specific database user for Write-Back to use. It should only have full access to the Write-Back schema where the datasets will be created.
In the case of SQL Server, this user must be created with a default schema, as SQL Server has the requirement to always specify a schema. To add a default schema to a user, here is an example: ALTER USER XPWBTABEXT WITH default_schema = dbo; Replacing the highlighted words with the proper ones for your scenario.
In the case of Amazon Redshift, depending on the security settings, you most likely will need to add the IP of the tomcat server to be able to access the database. In the EC2 Console, there should be an option to manage Security Groups were the IP should be added to the inbound rules. This guide might help: https://docs.aws.amazon.com/redshift/latest/gsg/rs-gsg-authorize-cluster-access.html
In some cases, when using Snowflake, an error may show indicating that there is an unsafe memory allocation or an out-of-bounds index. To fix this, please add JDBC_QUERY_RESULT_FORMAT=JSON in the JDBC Advanced Options.
Database Limitations
In the case of BigQuery due to lack of support for some operations on the database, there are the following limitations:
- Transactions are not supported at SQL level, so we cannot guarantee the integrity of BigQuery database if some error happens during the action.
- Being an analytics database bear in mind the operations can take longer to be executed.
Authentication
Here you can finish the configuration for the authentication methods chosen in the 'Configure Authentication' page.
For each method that you saved, you may need to complete the setup here.
Web Server
Write-Back runs on a web server and this section allows you to do web related settings to better adapt to your infrastructure. Available settings are:
- Write-Back URL Configuration
- SSL Certificate configuration
- Session Configuration
- Tableau Online usage
If you need help generating an SSL certificate please go to Prepare for SSL Configuration for Write-Back Server.
Before Using Write-Back
From a Remote Machine
With the basic installation Write-Back is enabled by default to be used only on localhost.
If you want to access Write-Back either from Tableau Server or from a Tableau Desktop on another machine you need to follow this procedure Configure Write-Back Server for External Access.
This is only applicable when Write-Back is installed on a server with a fixed IP
If you have installed on a laptop you cannot use Write-Back from another machine as your IP will change over time.
On Tableau Server
If you want to use Write-Back on Tableau server follow the Configure Tableau Server to allow Write-Back Server instructions to allow it.

