00 - Add Extension to Dashboard
To be able to use Write-Back you need a file with the extension .trex. This file is specific for your organisation so it is part of the installation procedure to download it from Write-Back manager. If you did not install the extension please request the trex file from your Tableau administrator. Once you have the trex you can start the process:
Add Write-Back to your Dashboard
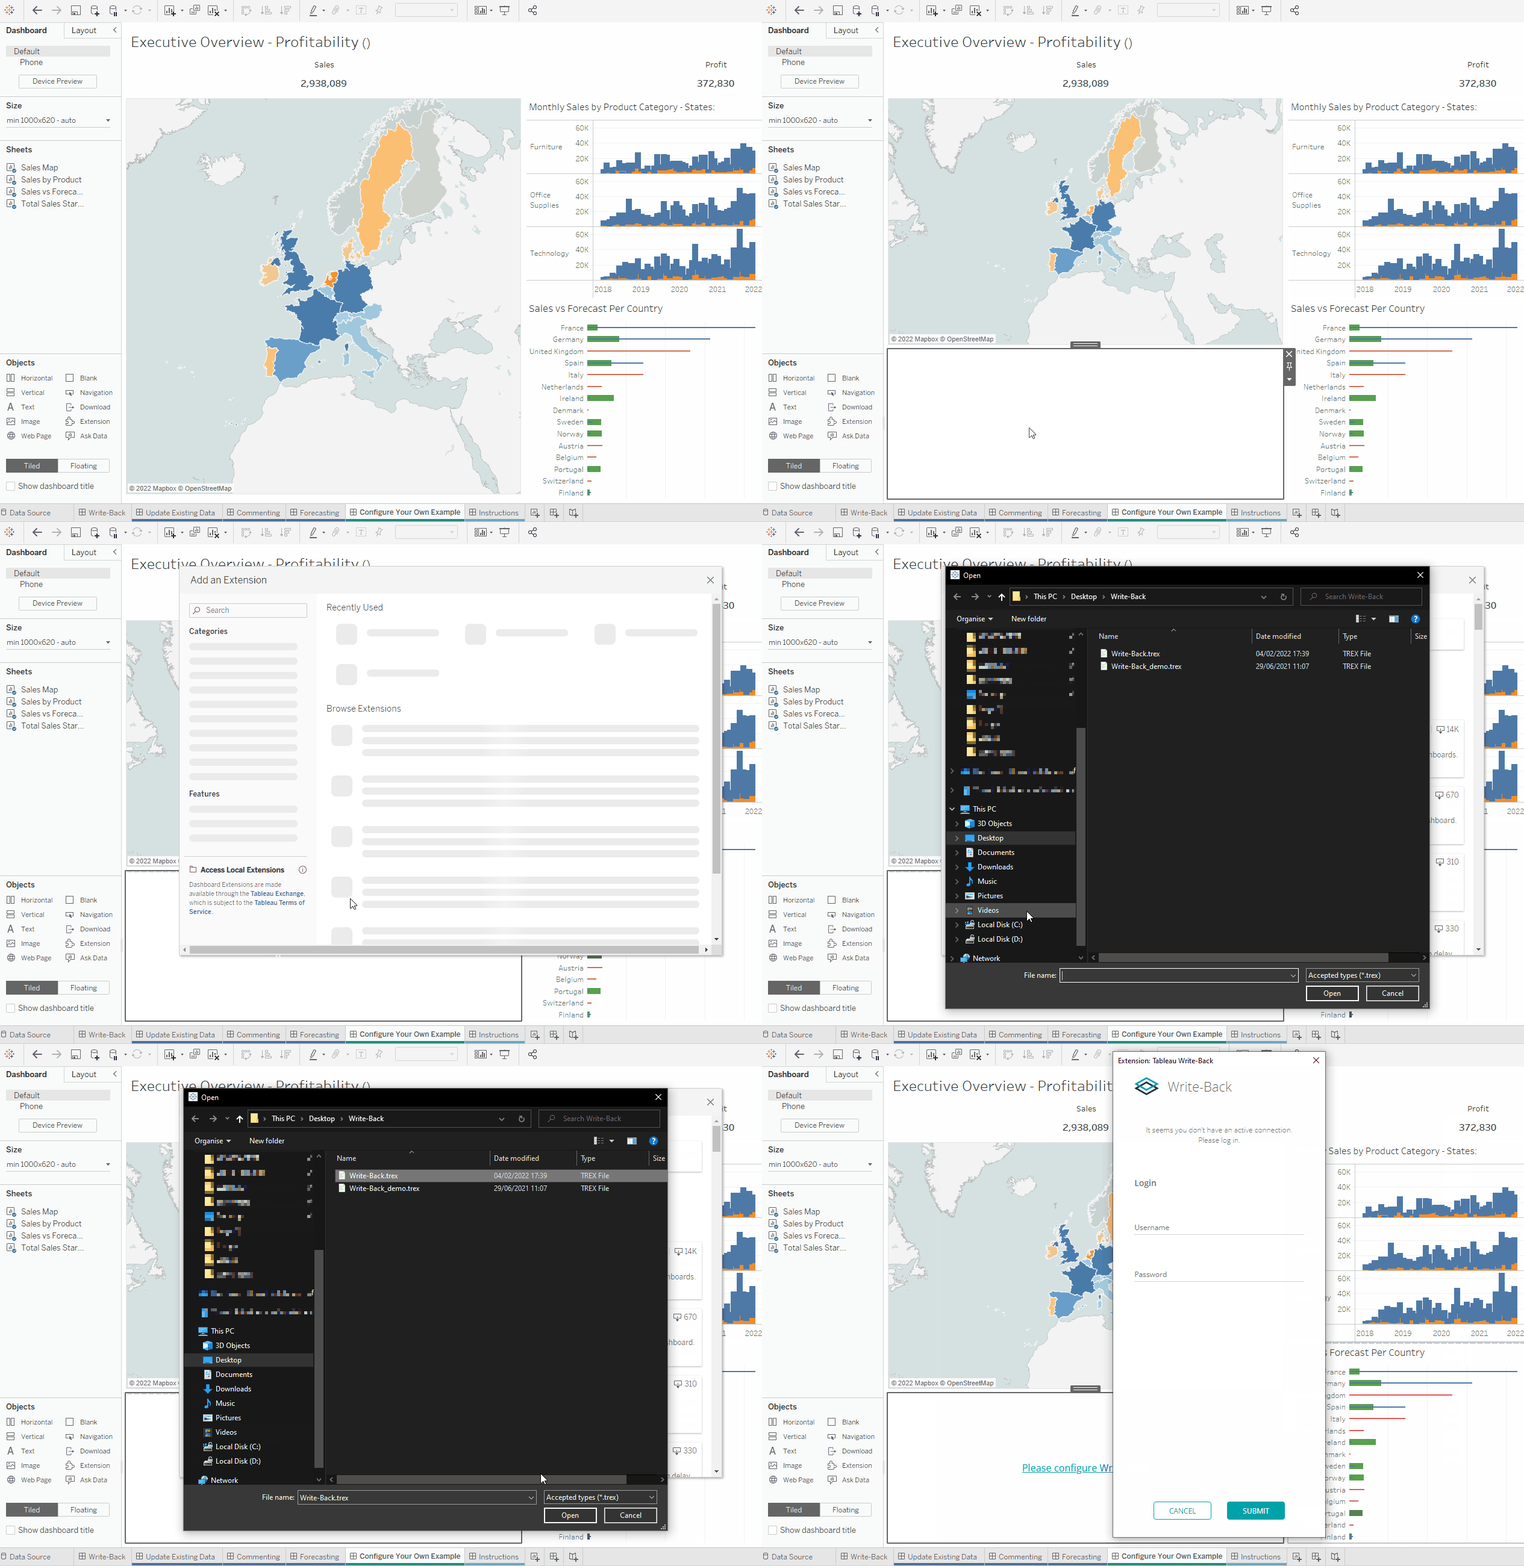
After having the trex file please follow the following steps:
- Drag the extension panel to your dashboard
- Click "Access Local Extensions"
Choose the trex file
- Allow permission if requested
- The permissions requested enable the extension to read the necessary data to allow the user to configure a proper dataset.
trex file should be provided by your Write-Back system administrator.
Otherwise if you have access, directly at the Write-Back Manager on "Using Write-Back" section.
When defining the space that Write-Back will take on the dashboard please be aware error messages are displayed inside this window below the button so you should provide enough space for tem to be seen by other users. To test it you can simply click on the button without selecting any mark as this will trigger the corresponding error.
Accessing the configuration screen
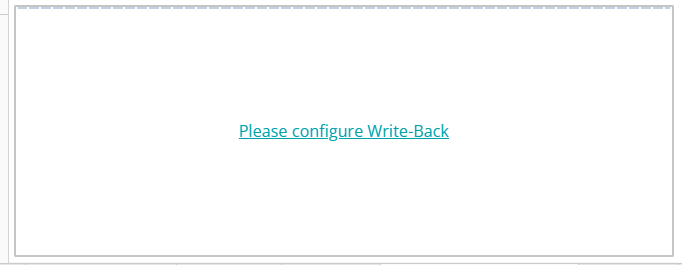
If you accidentally closed the login pop-up or the configuration screen before creating a configuration, you can open click on "Please configure Write-Back" to re-open it.
Tableau Server
On Tableau Server, make sure that you allow pop-ups for this site as Write-Back configurations, log-ins and some forms are opened as a pop-up.
Write-Back Sites
Write-Back supports multiple sites each with its own trex file.
We recommend only using a site per dashboard

